Thursday, 19 February 2015

3D Gargoyle Asset (BA2) Evaluation

BA2's project was to create a 3D gargoyle asset, with must be suitable for Current Gen game-engines.  Also I had to write a 1000 word essay about the roles in the games industry using primary (emailing a professional artist) and secondary research (online and books).  I have created my sculpt through a number of methods.

I believe that my research skills have improved since last term, I was able to do more research this term (defiantly more with CS work), which gave me lots of ideas for main design and optional creations that would lead towards my final design. A major problem with my research was deciding what I wanted to base my design on (influence wise), I had an idea but I wasn't sure which direction to take it in. I struggled in limiting myself into choosing where I wanted to take my design. I believe I can sort this problem out by focusing on a few different styles and talking more about them instead of taking loads of styles and talking a little bit about them. I also need to think about using primary work more in my next project.

When I finished drawing or sculpting a piece of work, I made a note to myself on how to make it better, and what to improve on. When I was in the planning stage, I had trouble deciding what time of sculpt I wanted to create due to all the different ideas I had. I also rushed a lot of my 2D work, I feel as though I could have put in a few more hours into the quality. I will aim to create better 2D examples, with more quality and experimentations. I’ll try to take better care of my designs.

I was able to create the model well enough with the skills I had picked up in lessons and online. I enjoyed using the different tools and options that ZBrush presented. I was able to pick up on my drawing skills quickly in life drawing. I wanted to use more tools that ZBrush had to offer, so I could show a better understanding of the software, and what I’d learnt. It took me a bit longer to understand the whole process of topology than most people. I’ll try experimenting with the different tools and alphas over the holidays to see if I can improve my 3D skills for the next project.

When I was creating my final design, I worked in the media lab which allowed me to do more work without many distractions. I was also able to get a one-to-one with the tutors, which helped a lot when it came to topologising my sculpt. I was able to speed up recording my work which allowed me to work on my design more. I didn't do very much work with my blog until the last week, which I regretted, because I could have spent that working on my sculpt more. I should have used the media lab computers more when creating my sculpt, after about 3 million polys, my computer started to lag a lot. Next Project, I plan to spend a lot more time in the Media lab, especially in the afternoon’s when there are computers free. Improve on updating my blog more frequently. Maybe consider getting a new computer for better speed and more memory space.

In conclusion, I know that my skills with 3D software aren't that good, but for a first attempt with this software I feel proud of what I have achieved.  I could have used more time at the beginning of the project to do more work, it may have had a different outcome altogether. I'm going to improve my skills with ZBrush, and see if I can get quicker at creating out better quality drawings in Photoshop, also I will aim to get an idea more quickly is this next project.
See you in BA3!!!

Wednesday, 18 February 2015

Presenting TERRABITE the Dinosaur!!

I have now finished my sculpt, I do need to get better as using the paint tool, I relied too heavily on the texture's brush.  The overall design is pretty good for my first official 3D project sculpt, there are some areas which I can improve upon, such as the tongue and the wall. 


I tried adding a little more shadow since finalising it, as well as playing with the lighting. I was worried that it was too dark and that people might not be able to see it too well.  At times I steered away from my 2D iterations, but most of the form stayed roughly the same. The idea of the gargoyle is that the water would flow into the back of the head and out of the mouth, I wish I could have added more to show that if I had more time.  

This is my rendered turntable video.

Final Thoughts:

Overall I'm quite happy because I was actually able to create a finished 3D model.  I feel as though I can get the grips of using this software effectively, though that will come with practise.  I do need to improve upon painting and using the tools more efficiently, i'll attempt to see what I can do over the holidays, and I'd better start fine tuning my skills for 3D Maya  and the next project.  


Creating my Dinosaur (Part 6)

Now that I had my dinosaur sculpted and painted, the only things left to do, where fix the wall, and bring the polycount down to as low a setting as possible.


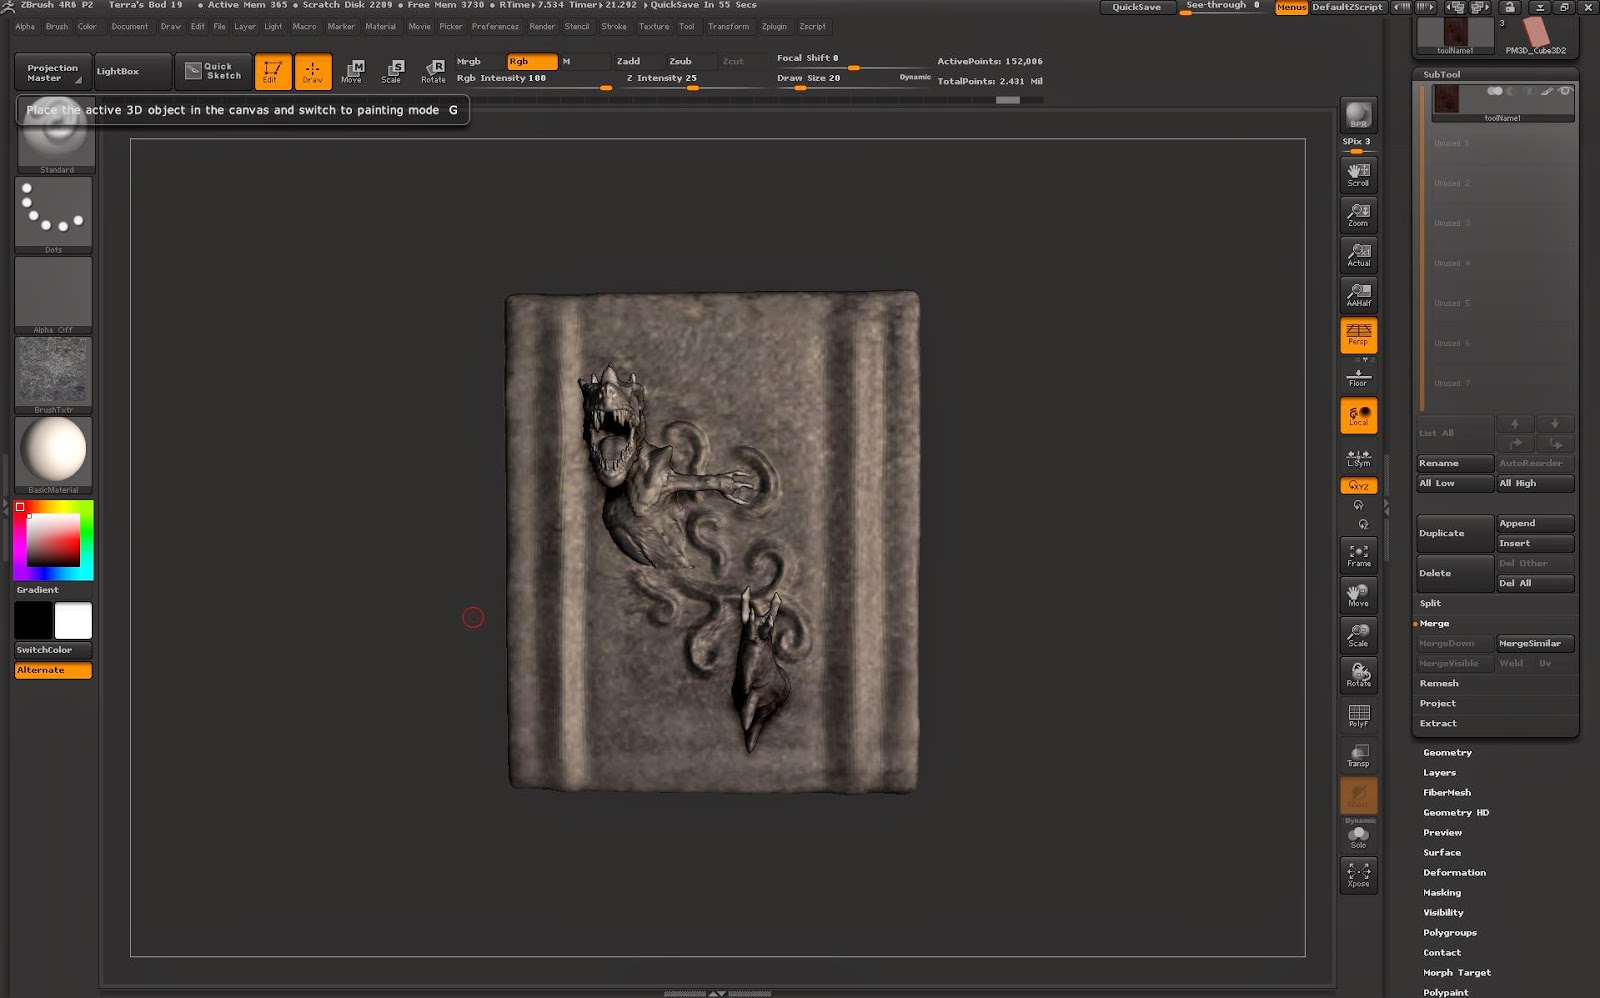
I figured that the wall should have a little detail, so that my dinosaur looks like it's on a castle wall, I decided that the best way to do that would be to do some swirls and patterns.  The first design had too many patterns and would have probably drawn attention away from the model itself.


This second design was more suited, because it didn't have a lot of detail, and it also connects from the body to the tail.


After the detailing was complete, I added the same stone texture to the wall to give the sense of them being merged.  This is also the last shot of my model before I topologised it. 


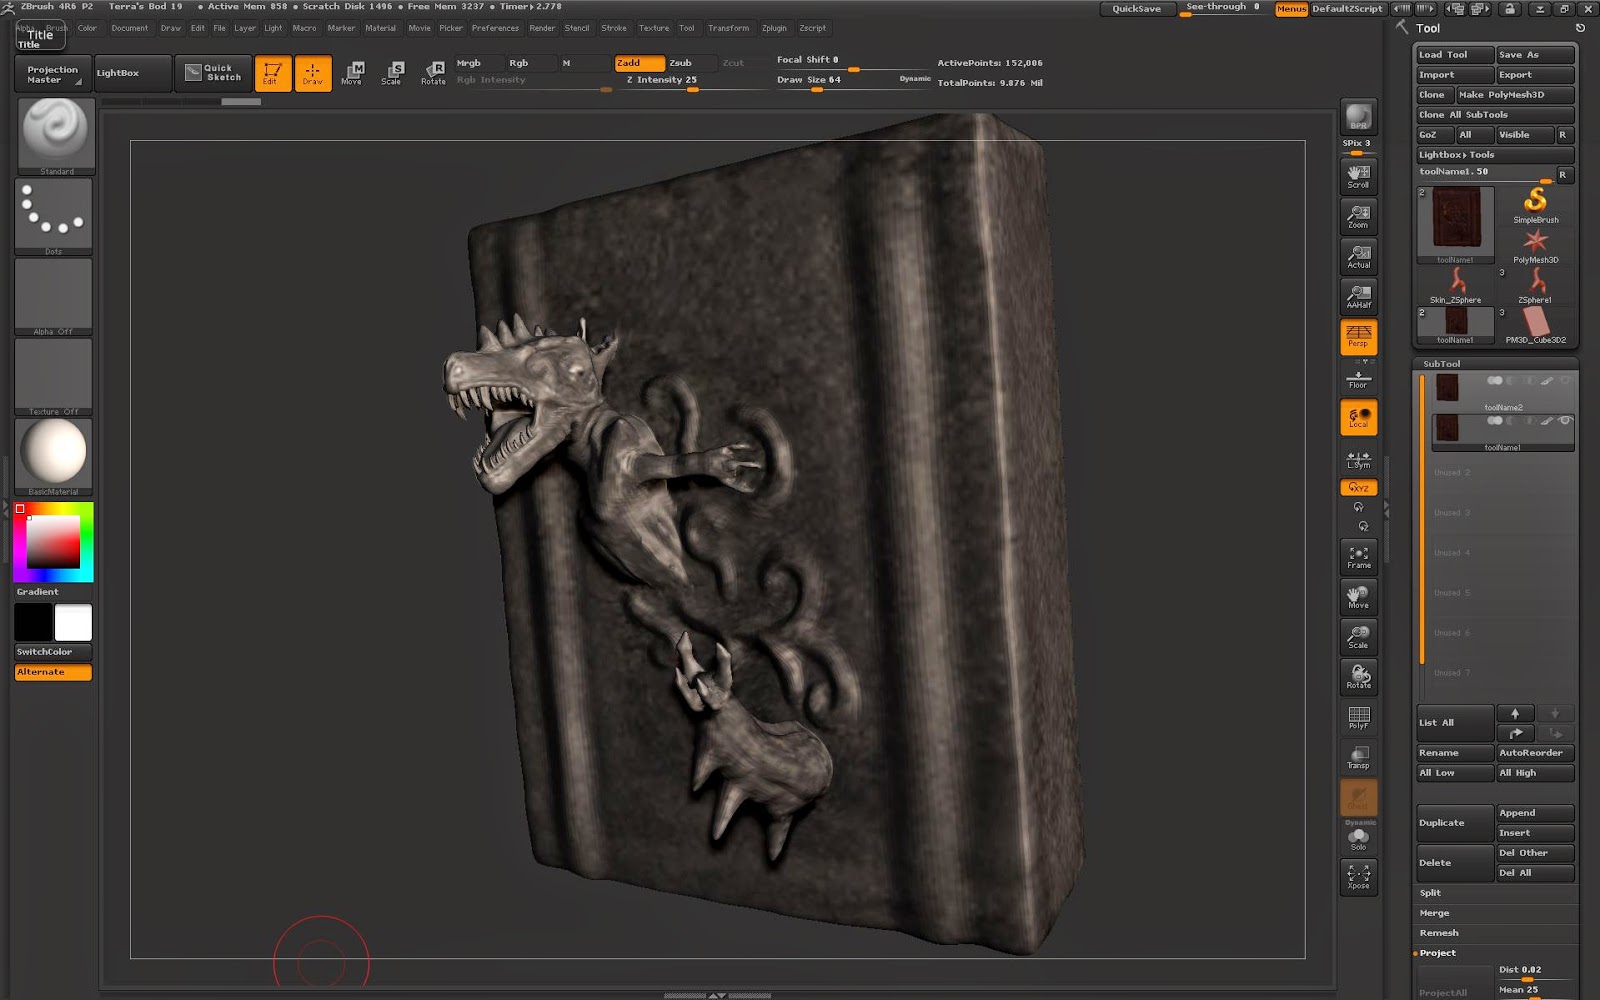
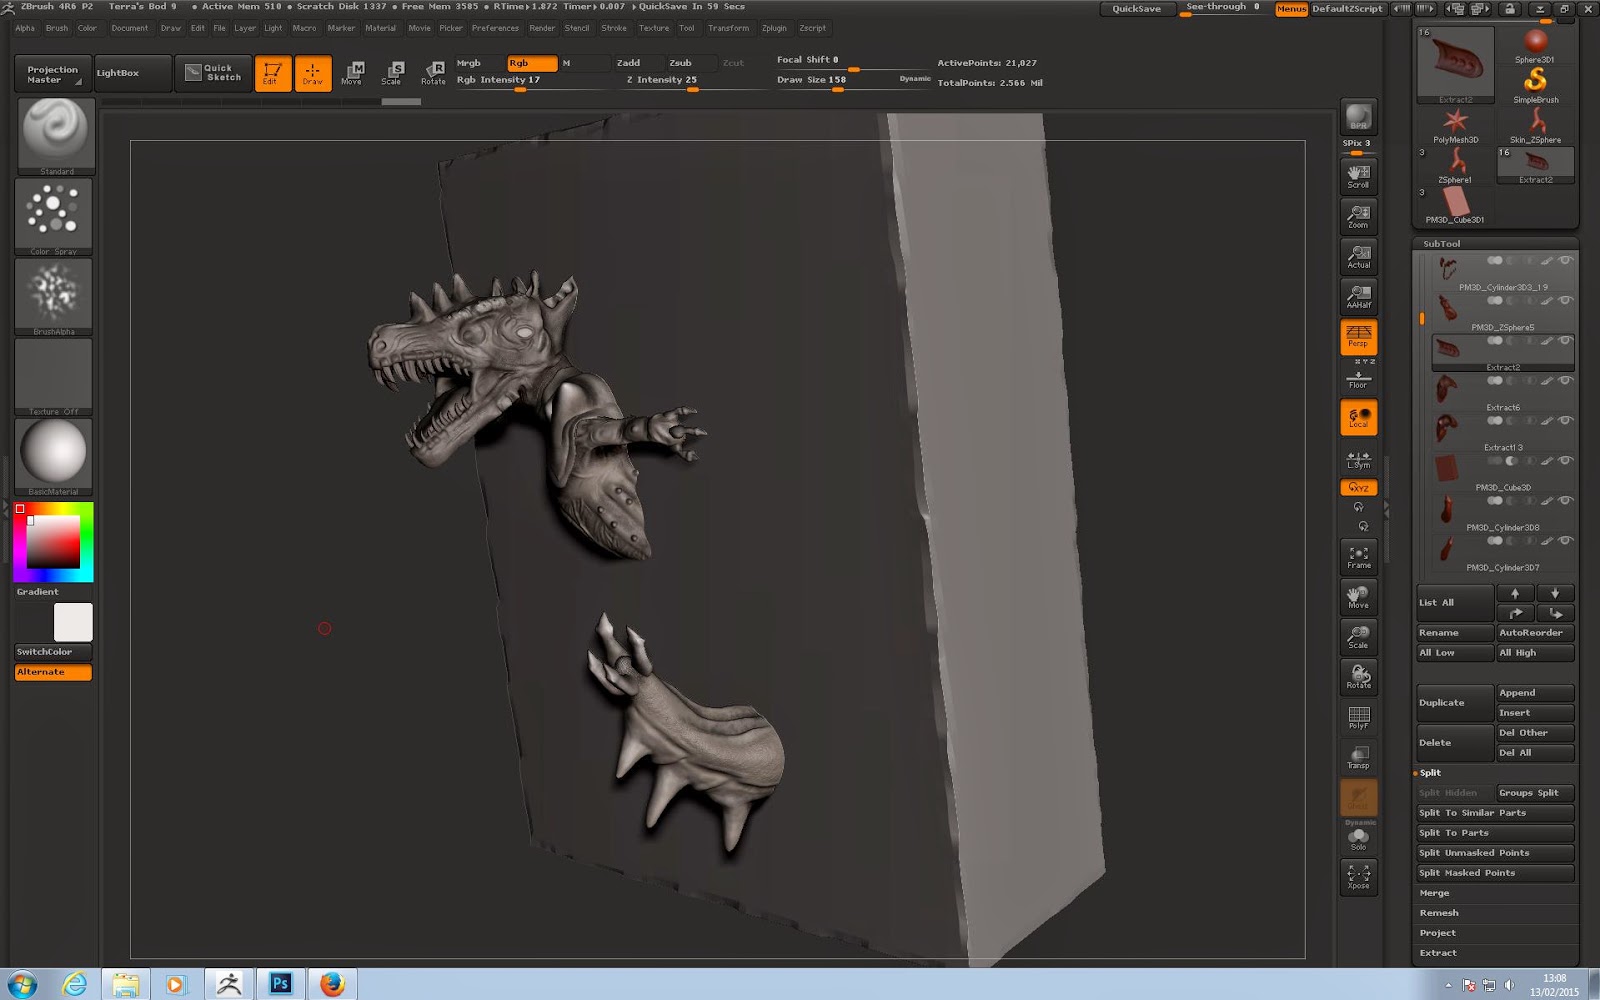
These two show the design stage in which I topologised my model to get the polycount down.  The first screenshot, was where I used a technique called remesh all, this allowed me to merge all my subtools into one subtool, then Zremesher it.  The second one was when I had a low ploycount model and a high polycount model up at the same time,  It also gives the impression of a decaying sculpt. I also had to do some reshaping because my model wasn't straight, but that part was easily fixed once everything was one subtool.
As explained in a previous post Topology is a way of reducing your memory space while keeping the form of your model the same. Once I managed to Zremesh and project my sculpt down, I started to see the difference between a high polycount and a low polycount.


The first one has a high polycount of around 9 million and subdivision level 5, while the second one has a low polycount of around 100 thousand and subdivision level 2.  There isn't a major difference between the two, however there are a few changes. I believe that there is more shadow and detail in the high polycount version and it becomes a bit sharper. I repeated the process a couple of times, and found a number of poly's work well without destroying the image.  But I had to be careful not to go too far with my image, and 100,000 was the best I could get it down to.

Creating my Dinosaur (Part 5)

The next step was to choose a texture or polypaint for my dinosaur.  I started playing around with polypaint, and did a couple of iterations to get a colour that I liked, but in the end I went with textures as my final decision.


This texture was mainly a stone design I went with a lighter colour, but it didn't look very appealing so I continued my texturing.


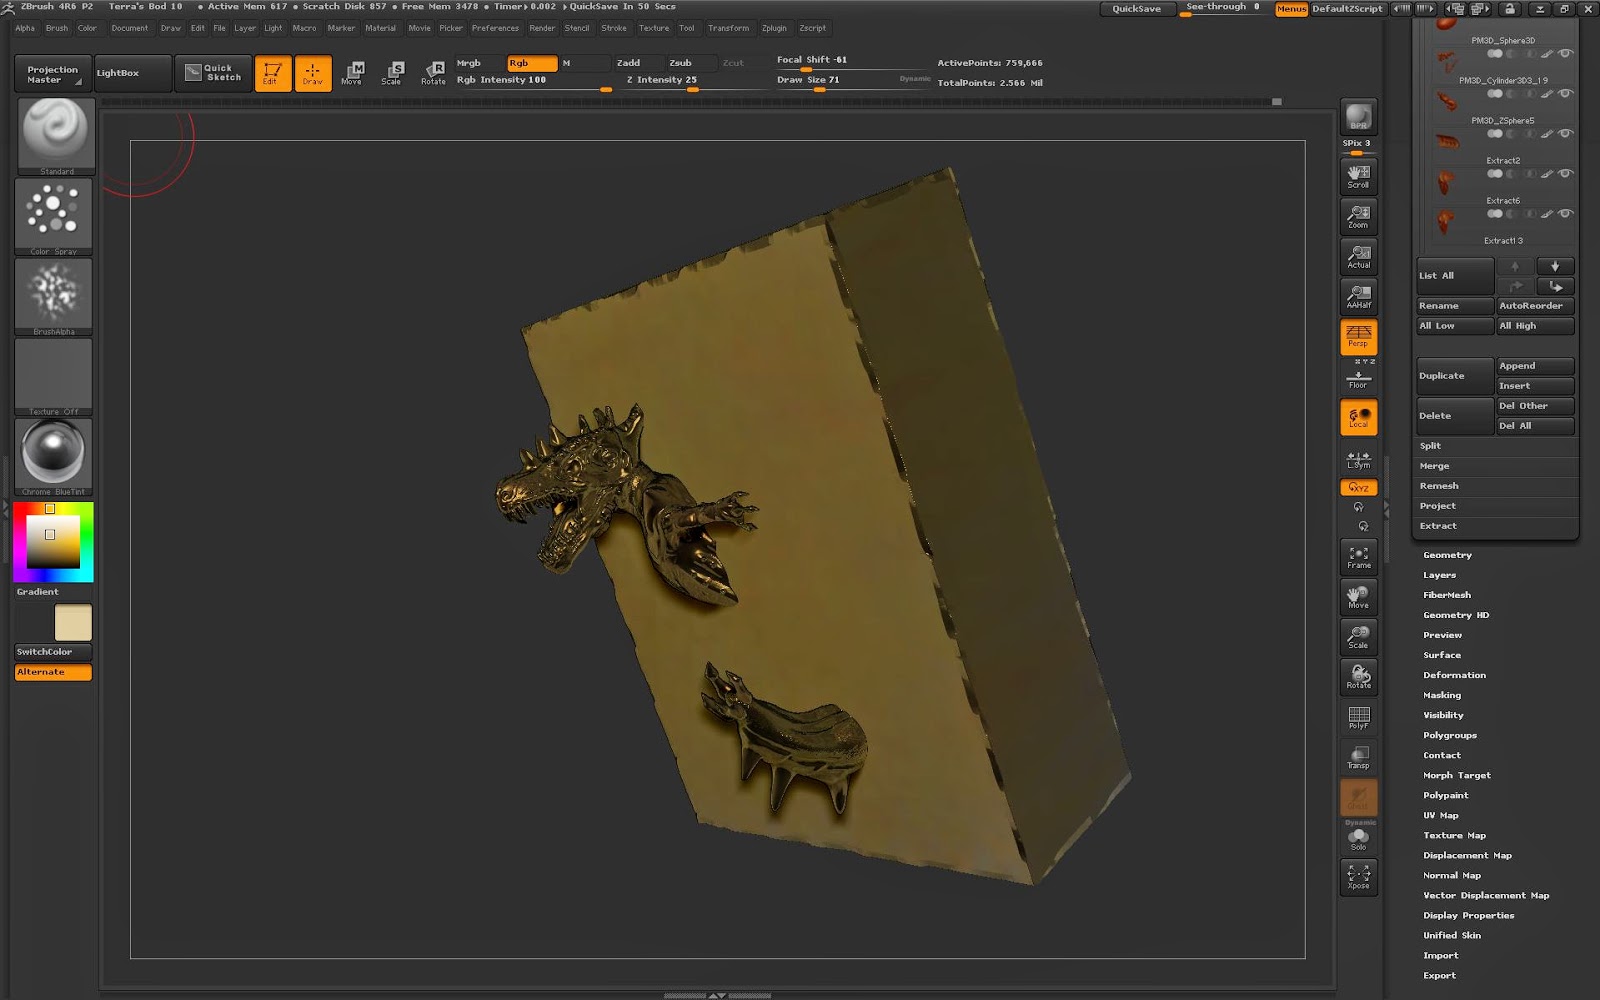
The next one I did was in a golden colour for fun.


I started looking into different stone textures because that is what I wanted my final texture to be, I wasn't 100% sure about this texture, so I carried on searching.


This one was focusing on the wall texture, I first went for a stone hieroglyphic, but it didn't match well with my dinosaur, so I removed it. 


I decided on this stone texture for my final design.  It was a lot smoother than my previous stone textures, it also had a darker look to it, which made it perfect to go with the mood of my sculpt. 

Creating my Dinosaur (part 4)

During the group crit, some of the classmates suggested that I change the design of my dino by removing it's leg, due to the fact that at first glance they couldn't tell what it was. so I did just that.


Once I removed the leg, I decided to add more detail to the skin, I mainly focused on my rancor design with the main body, by creating wrinkles with the claybuildup. 


At one point during the build, I learned how to use the chain tool, however it was one of the most annoying things to use in Zbrush.  No matter how much I moved it, it wouldn't stay in the position I wanted it to, so I ended up abandoning the chain idea. 


I then moved on to the tail, I decided to create an overlapping scale on the outside, with horns coming out of the scales.  I made a claw subtool and put it on the end of my tail. I then added a scrappy texture over the top to see if I could get the reptilian skin feel to it.


Creating my Dinosaur (Part 3)

At this point, I have successfully created a head shape for my body, the next step was to create the body. So I started to mesh it out.


I dragged its of the body out to make it so that it matched the head scale wise, after that I had to start focusing on getting the whole position of the body right.


The biggest problem I faced when shaping the body was the leg, it kept ending up too thick or thin, I scaled out the feet, and decided to add a horn on the kneecap.  Once that was done like with the head, I Zremeshed the body and then began to work in detail on it.


I started with the head and worked on giving the scales and lump's around the mouth and eyes, I created separate subtools for the teeth and did those individually, then using the claybuildup to give it some swirls and curl's. I used extraction tool to give my dino armour pads on the shoulder and knee.   


When creating features for the arm, I was going to give it an armour pad, but then I was told to reconsider the position of the arm, if it was pushing out it would have needed to be the other way round. Once I had finished that I was able to continue working on detailing the skin texture.


Creating my Dinosaur (Part 2)

Once I was happy with the optimization for my dinosaur, I went on to unify the skin, and when I finished that, I made my zsphere sculpt into a 3D polymesh, so I could then start adding the detail to make it into the dinosaur I want.


Afterwards I moved the wall into the background to get an idea of how I wanted how my sculpture to look, I went for a half in the wall design. I managed to smooth things out, however in a group crit, I was told in would be better if I turned the head into a separate subtool. 


I decided to keep another save file of when I first polymeshed my design so if I had any troubles and couldn't undo them, I would start from here.


I used the head from my previous save file as a starting point, saved it as a subtool, then imported it onto my current file.  After that I chopped off the back of the neck, and then used the move tool to create the mouth. After that I used the claybuildup tool to get the basic shape and main features of the face, such as the horns, ears, and eyes.  Next up I Zremeshed the piece and subdivided it.